
Chinese recipe
Sweet & sour pork
Crisp, bite-sized pork tossed with red, yellow, and green peppers, onion, and a bright sweet-and-sour glaze.
Guangdong, China

01
Ingredients
- 500 g
pork tenderloin, cut into 2.5 cm cubes
- 15 ml
Shaoxing wine
- 15 ml
light soy sauce
- 1 g
white pepper
- 30 g
egg white
- 100 g
cornstarch for coating
- 1 L
neutral frying oil
- 60 g
ketchup
- 45 ml
rice vinegar
- 50 g
granulated sugar
- 60 ml
water for the sauce
- 10 ml
light soy sauce for the glaze
- 8 g
cornstarch
- 15 ml
water for slurry
- 100 g
red bell pepper, 2.5 cm pieces
- 100 g
yellow bell pepper, 2.5 cm pieces
- 100 g
green bell pepper, 2.5 cm pieces
- 80 g
onion, 2.5 cm pieces
- 10 g
fresh ginger, thinly sliced
- 10 g
scallion, thinly sliced for serving
02
Method
- 01
Marinate the pork
Cut 500 g pork into 2.5 cm cubes. Mix with 15 ml Shaoxing wine, 15 ml light soy sauce, 1 g white pepper, and 30 g egg white; massage until no liquid pools. Cover and refrigerate for 30 minutes, until the surface feels tacky.
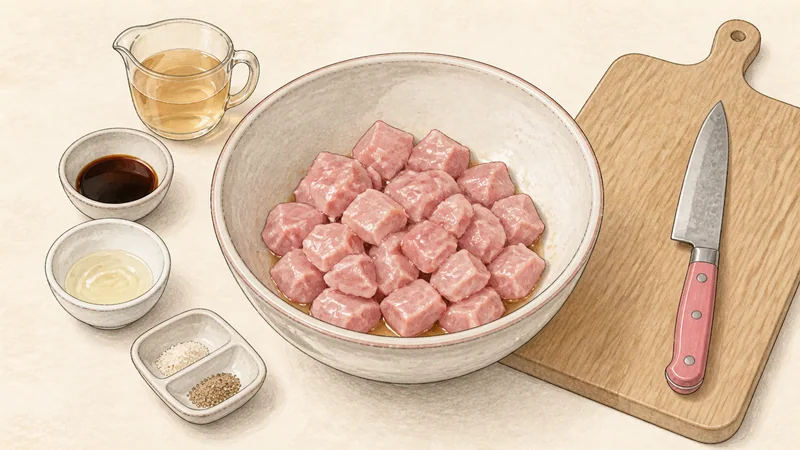
Cooking-step illustration, not a photograph - 02
Mix the sauce
Whisk 60 g ketchup, 45 ml rice vinegar, 50 g sugar, 60 ml water, and 10 ml light soy sauce. In a separate cup mix 8 g cornstarch with 15 ml water; keep both ready before frying.
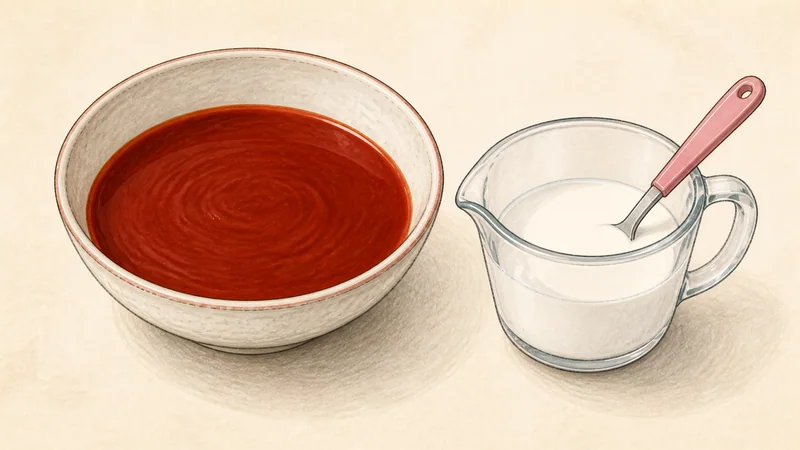
Cooking-step illustration, not a photograph - 03
Heat and coat
Heat 1 L neutral oil in a wok or Dutch oven over medium-high heat to 175°C. Toss the marinated pork thoroughly in 100 g cornstarch and shake off loose powder; keep the pieces separate.
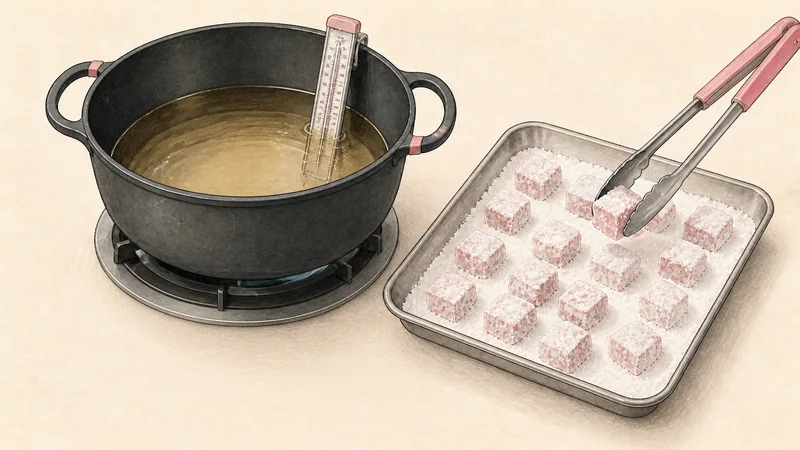
Cooking-step illustration, not a photograph - 04
First fry in batches
Fry the pork in 3–4 batches, one layer at a time, for 3–4 minutes per batch. Remove each batch when pale golden and cooked through, with the centre at 63°C, and drain on a rack.
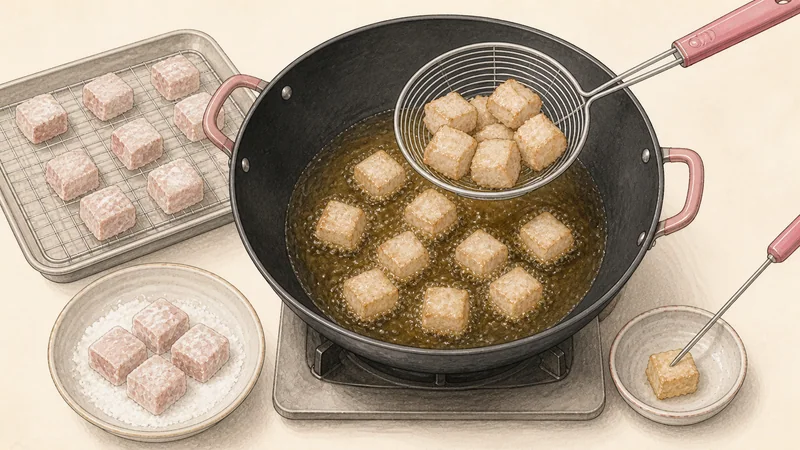
Cooking-step illustration, not a photograph - 05
Refry for crispness
Raise the oil to 190°C over high heat. Refry each drained batch for 60–90 seconds until deep golden, audibly crisp, and at least 63°C at the thickest centre. Return it to the rack and rest it for at least 3 minutes while finishing the sauce.
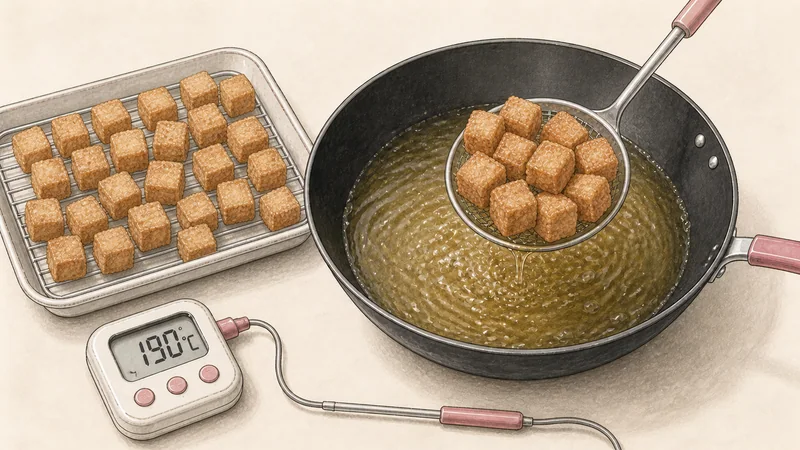
Cooking-step illustration, not a photograph - 06
Stir-fry the vegetables
Pour off oil until only 10 ml remains. Over medium-high heat, stir-fry 10 g ginger, 80 g onion, and 100 g each red, yellow, and green bell pepper for 2 minutes; they should be bright and just tender.
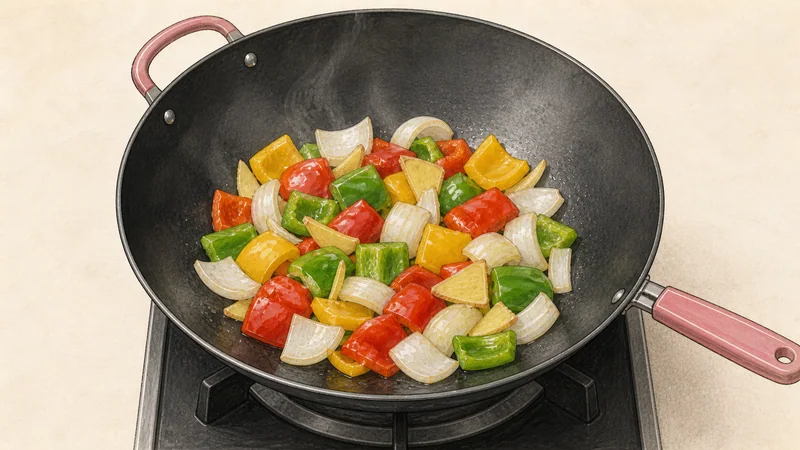
Cooking-step illustration, not a photograph - 07
Thicken the glaze
Add the sauce mixture and bring it to a full simmer for 60 seconds. Stir in the slurry and cook another 30–45 seconds, until the red glaze coats a spoon without clumps.
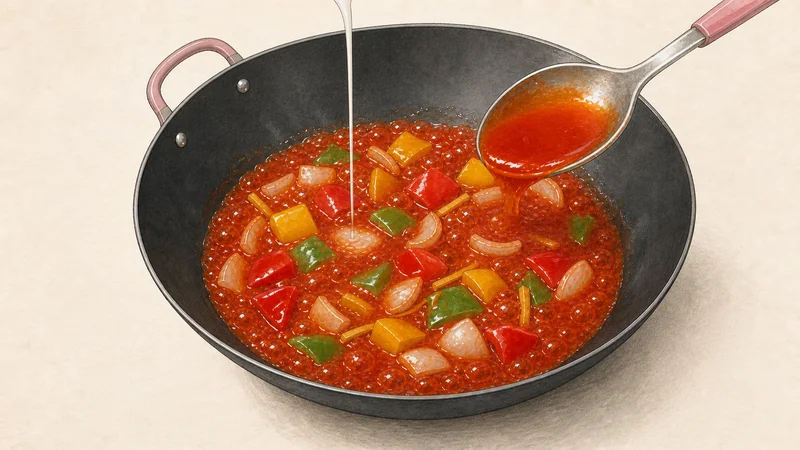
Cooking-step illustration, not a photograph - 08
Toss and serve immediately
Return the crisp pork to the wok and toss over high heat for 30 seconds, just until glossy. Scatter 10 g scallion and serve at once so the crust stays crisp.
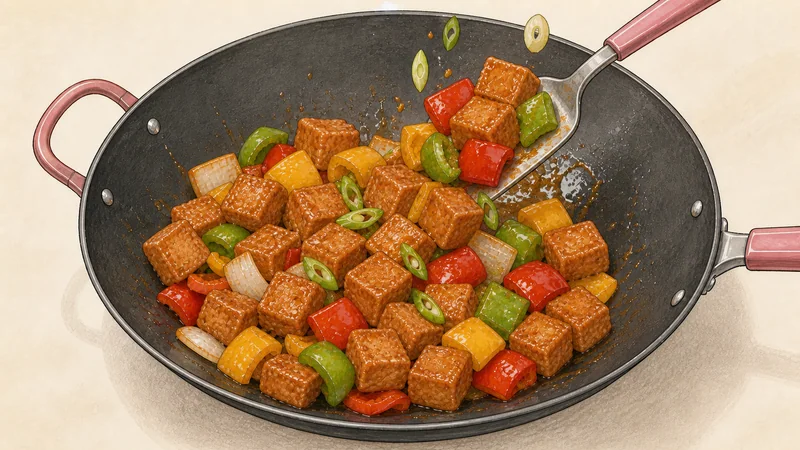
Cooking-step illustration, not a photograph


03
Sources and photo credit
This standardized method was independently rewritten after cross-checking the references below. Recipe Nest Vault does not claim that the credited photographer cooked from this exact version.
Recipe references
- The Woks of Life — Sweet and Sour Pork: Restaurant Recipe
- Serious Eats — Chinese Sweet and Sour Pork Recipe
Sweet and Sour Pork — Photograph by Alpha (avlxyz); CC BY-SA 2.0.
Step illustrations: Original illustrations created by Recipe Nest Vault with OpenAI image_gen.
More Chinese recipes
More Chinese recipes

35 min
Mapo tofu

32 min
Kung Pao chicken

1 hr