
German recipe
Schwarzwälder Kirschtorte
The classic Black Forest layer cake: light cocoa sponge, sour cherries, Kirsch and barely sweetened whipped cream finished with dark chocolate curls. The cake works because each component stays distinct—springy sponge, tart fruit, clean cream and a restrained cherry-brandy aroma.
Black Forest / Baden-Württemberg

01
Ingredients
- 6
large eggs, room temperature
- 180 g
caster sugar, for sponge
- 120 g
plain flour
- 45 g
cornstarch
- 45 g
unsweetened cocoa powder
- 6 g
baking powder
- 60 g
unsalted butter, melted and cooled
- 700 g
jarred sour cherries, drained, juice reserved
- 400 ml
reserved sour-cherry juice
- 45 g
cornstarch, for cherry filling
- 70 g
caster sugar, for cherry filling
- 100 ml
Kirsch, divided
- 900 ml
double cream, very cold
- 75 g
icing sugar
- 5 ml
vanilla extract
- 120 g
dark chocolate, for curls
- 12
whole sour cherries, reserved for garnish
02
Method
- 01
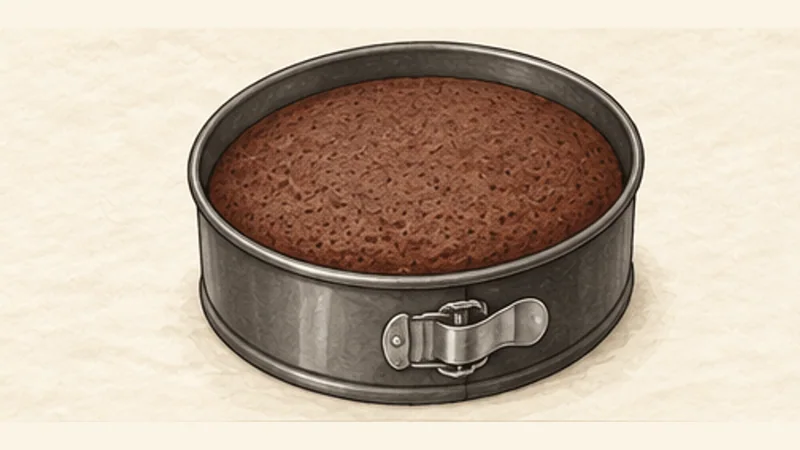
Bake the cocoa sponge
Heat the oven to 175°C. Whip the eggs and sponge sugar for 8–10 minutes until very pale and thick. Sift in the flour, first cornstarch, cocoa and baking powder, fold gently, then fold in the melted butter. Bake in a lined 24 cm springform pan for 30–35 minutes.
Cooking-step illustration, not a photograph - 02
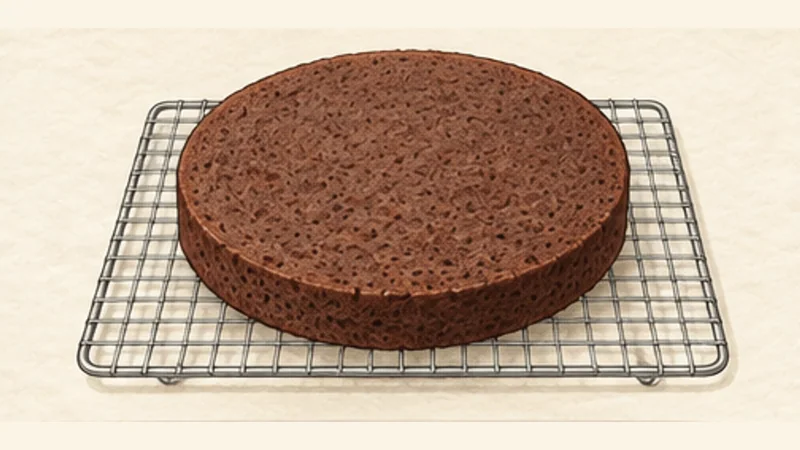
Cool the sponge completely
Cool the sponge in the pan for 10 minutes, then release it onto a rack and cool for at least 60 minutes. Do not cut warm sponge.
Cooking-step illustration, not a photograph - 03
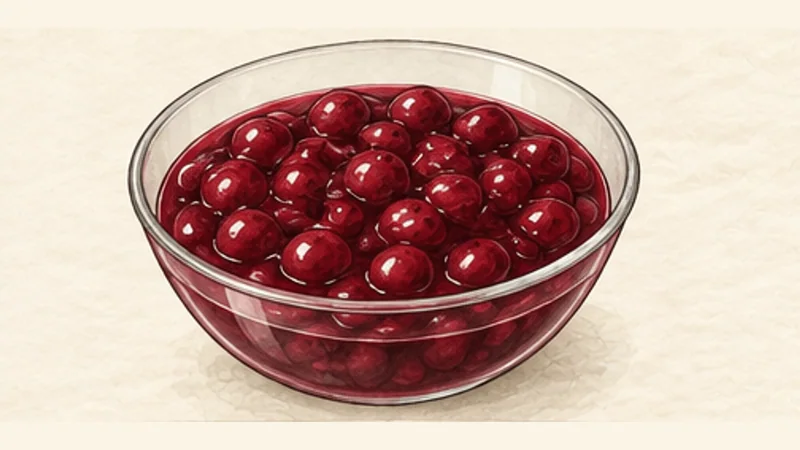
Cook the cherry filling
Whisk the cherry-filling cornstarch and cherry-filling sugar into 100 ml of the reserved juice. Bring the remaining 300 ml juice to a simmer, whisk in the slurry and cook for 2 minutes until clear and thick. Fold in the drained cherries and cool for 30 minutes.
Cooking-step illustration, not a photograph - 04
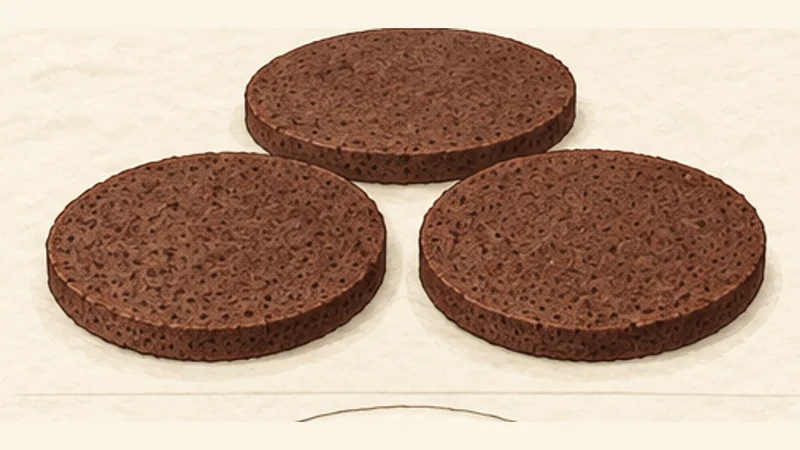
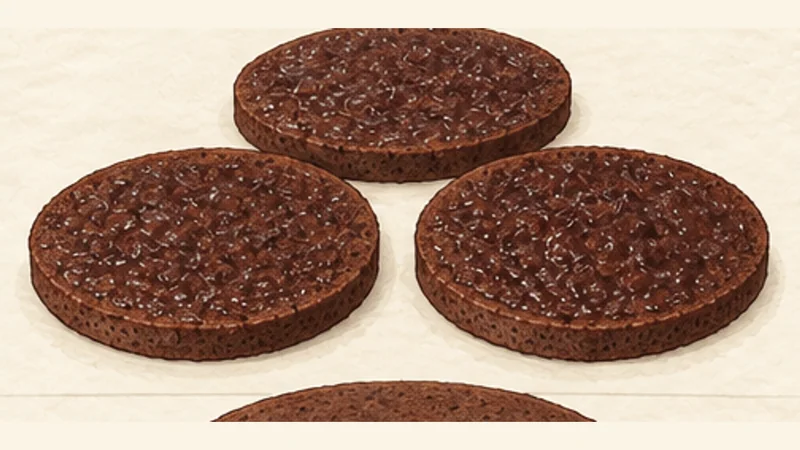
Split into three layers
Use a long serrated knife to cut the fully cooled sponge horizontally into 3 even layers. Put the flattest layer aside for the top.
Cooking-step illustration, not a photograph - 05
Brush with Kirsch
Brush each cut sponge surface evenly with the Kirsch, using about one third on each layer. Let it absorb for 5 minutes before adding cream.
Cooking-step illustration, not a photograph - 06
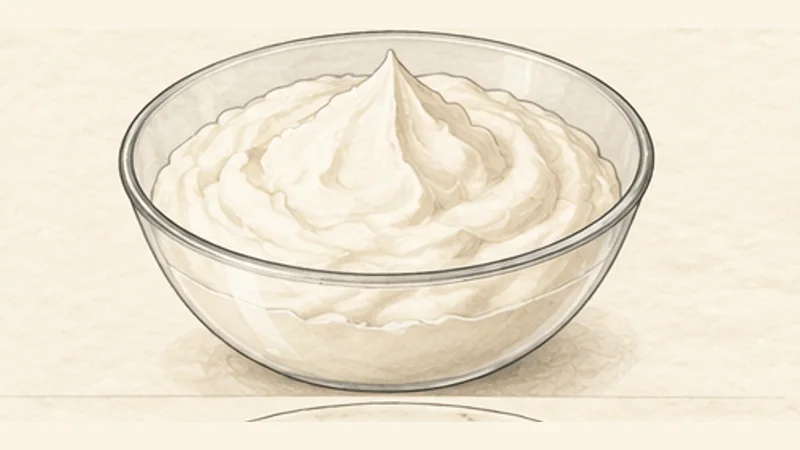
Whip the cream
Whip the cold cream with the icing sugar and vanilla for 3–5 minutes until firm smooth peaks form. Stop before the cream becomes grainy.
Cooking-step illustration, not a photograph - 07
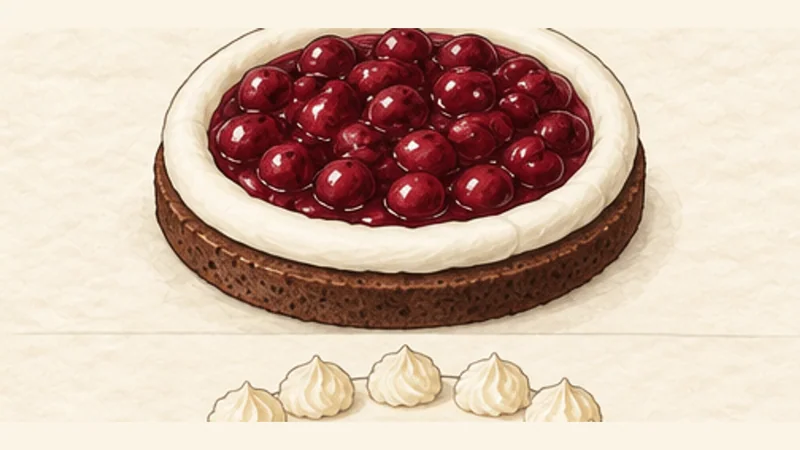
Build the first layer
Place the bottom sponge on a cake board. Pipe or spread a ring of whipped cream around the edge, fill the centre with half the cooled cherry filling, then cover with a thin layer of cream.
Cooking-step illustration, not a photograph - 08
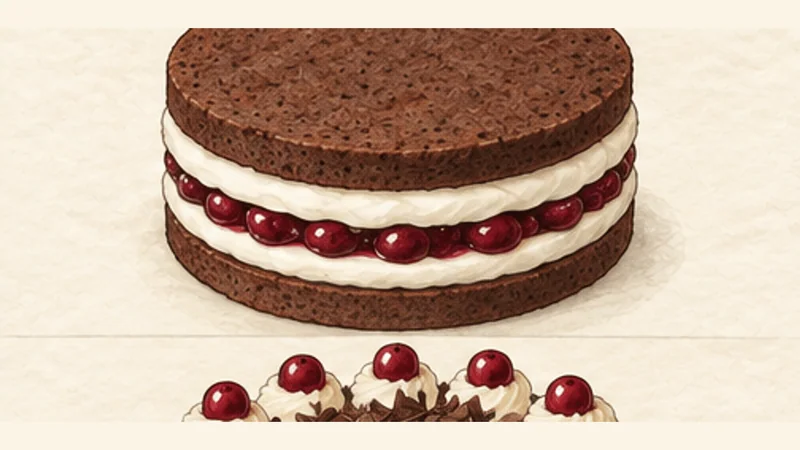
Build the second layer
Set the middle sponge in place and repeat the cream ring, remaining cherry filling and thin cream layer. Keep the filling inside the edge so the cake stays straight.
Cooking-step illustration, not a photograph - 09
Add the top and crumb coat
Add the final sponge layer flat-side up. Spread a thin coat of whipped cream over the top and sides, then chill the cake for 20 minutes to set the layers.
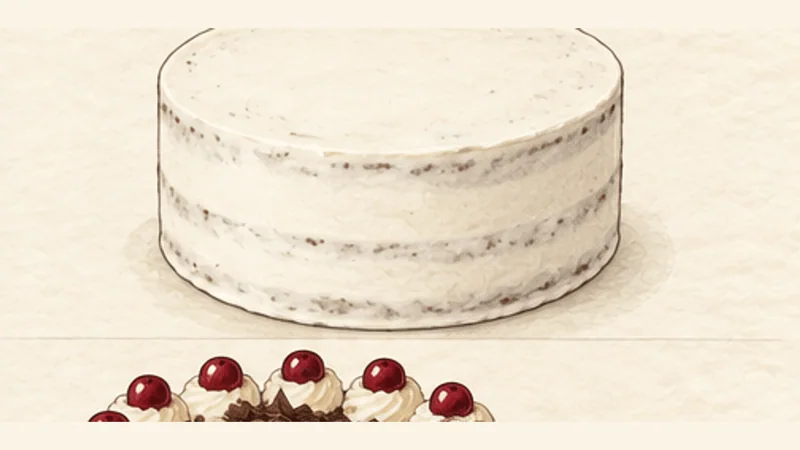
Cooking-step illustration, not a photograph - 10
Finish with cream
Apply a final smooth layer of whipped cream over the chilled cake, reserving enough to pipe 12 rosettes around the top edge.
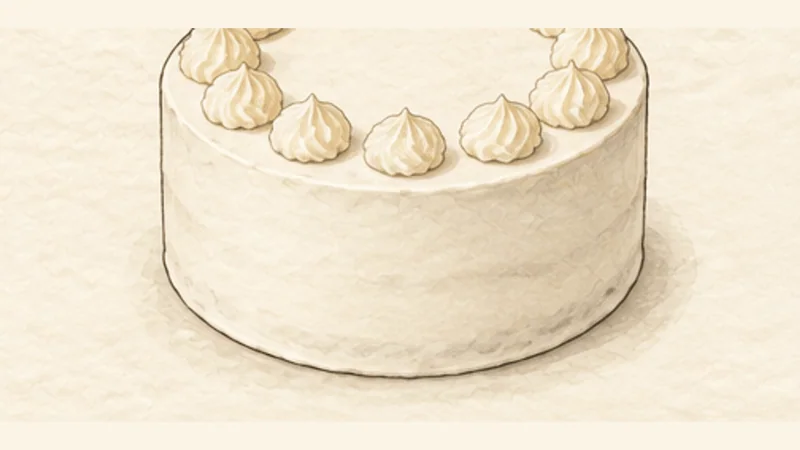
Cooking-step illustration, not a photograph - 11
Add chocolate and cherries
Shave the dark chocolate into curls and press them over the sides and centre of the cake. Place one reserved cherry on each of the 12 cream rosettes.
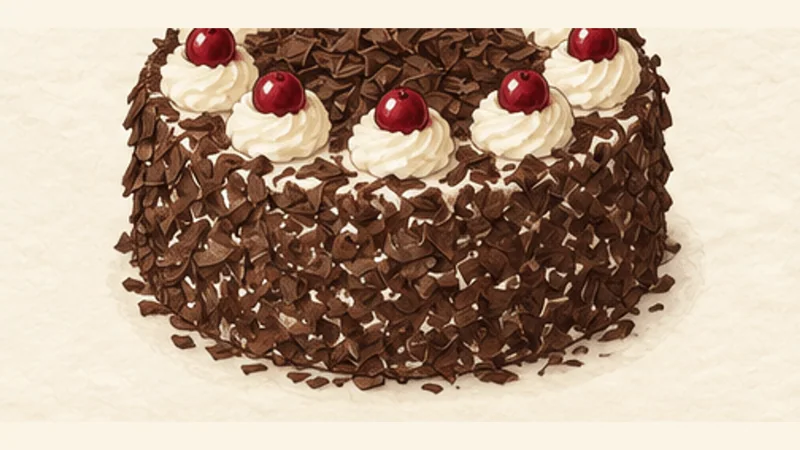
Cooking-step illustration, not a photograph - 12
Chill before slicing
Refrigerate the finished cake for at least 60 minutes before slicing. Cut with a hot dry knife so the cream and cherry layers remain clean and distinct.
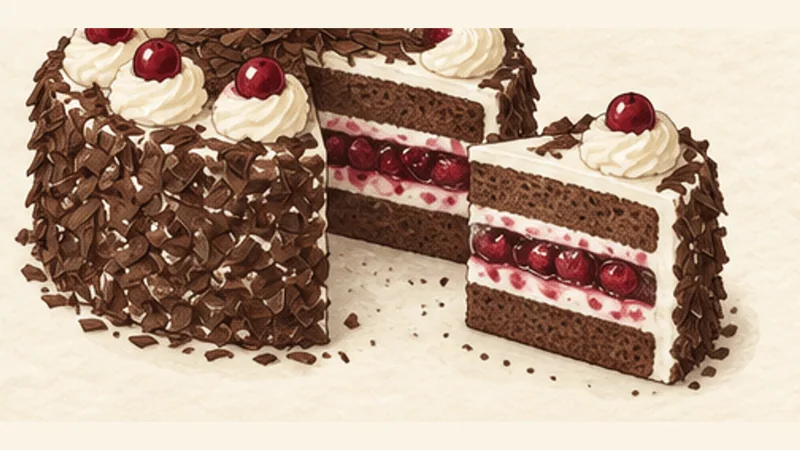
Cooking-step illustration, not a photograph


03
Sources and photo credit
This standardized method was independently rewritten after cross-checking the references below. Recipe Nest Vault does not claim that the credited photographer cooked from this exact version.
Recipe references
Schwarzwälder Kirschtorte aufgeschnitten — Photograph by Burkhard Mücke; CC BY-SA 4.0.
Step illustrations: Original illustrations created by Recipe Nest Vault with OpenAI image_gen.
More German recipes
More German recipes

3 hr 45 min
Sauerbraten

2 hr 50 min
Rinderrouladen

5 hr 30 min